

Visualize Your Old Fashioned Spreadsheets With The Magic Of IBM Cloud
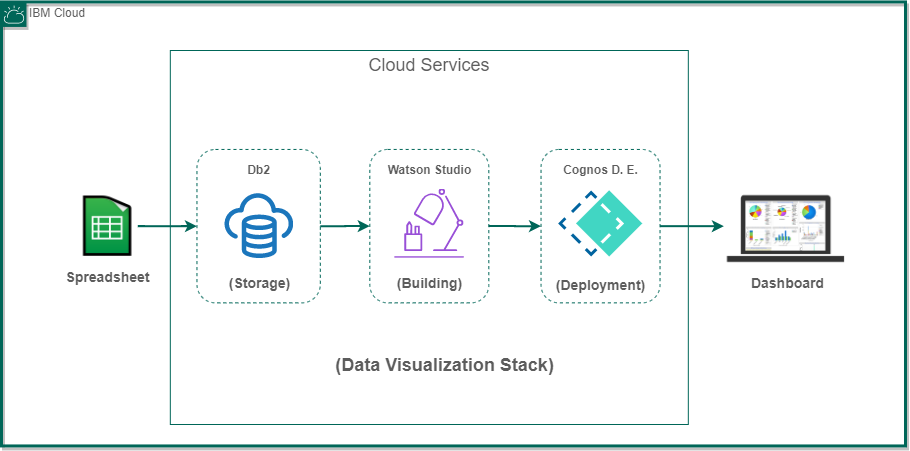
In this tutorial, I will show you how I’ve migrated my legacy spreadsheets to a more robust and reliable solution empowered by IBM cloud.
Spreadsheets Major Downsides
- Sometimes you will struggle to find important customer data, especially when you need them.
- You will have duplicate or conflicting customer data stored in different tables.
- In several incidents you will find yourself forced to manage and alter customer data manually, wasting your precious time.
- Client information sometimes just gets lost or corrupted.
- Forecasting sales and revenue with bare spreadsheets is a matter of fantasy.
- There are no real analytics tools, thus you will have to make decisions based on fragile deductions.
While Collecting and visualizing data is a challenging task that comes with its learning curve, I will guide you through easy and detailed steps that will take your data processing to the next level.

Prerequisites
This tutorial assumes that you have completed the following steps:
- Create An IBM Cloud Account
- Have your current data as a CSV or TXT file to be loaded into your IBM Db2
- Be ready to feel the power of IBM Cloud 🚀
Tutorial Roadmap
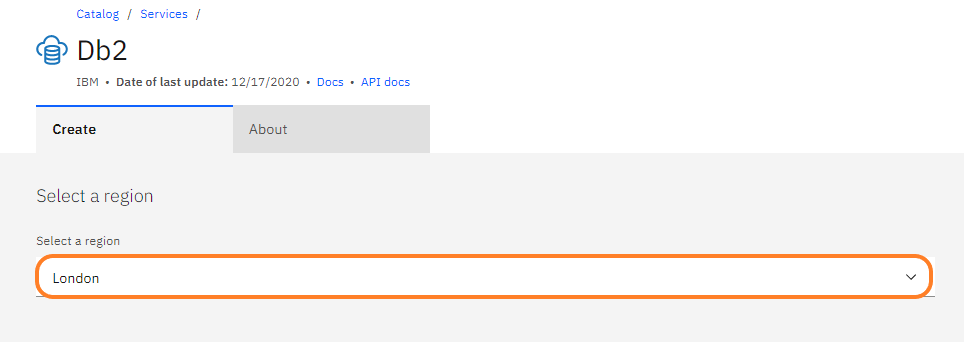
Step 1 — Create Db2 Managed Database Instance
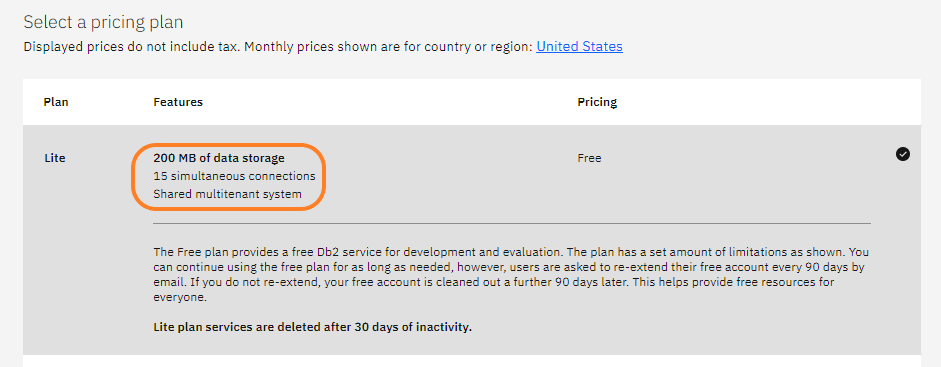
Within your IBM Cloud console, just type “db2” in the search bar or simply click here, as a start you can use the free lite plan which is limited to 200 MB of data storage, and 15 simultaneous connections.
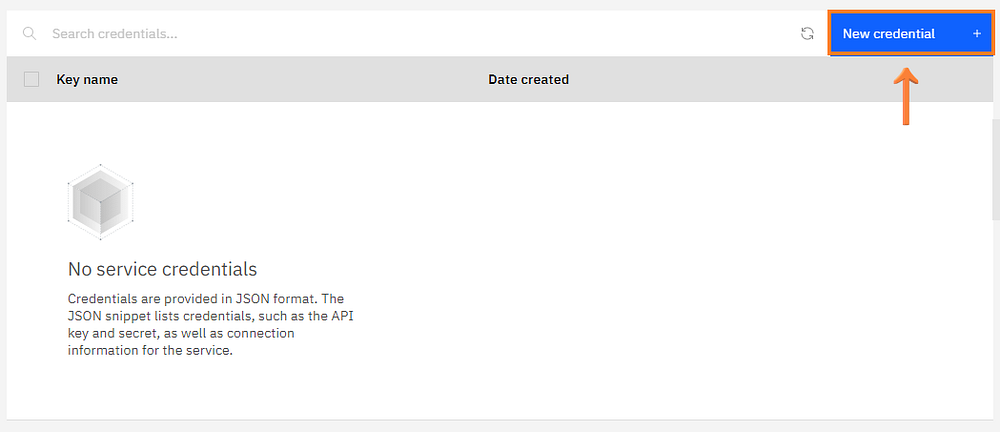
Click (Service credentials):

Click (New Credential):
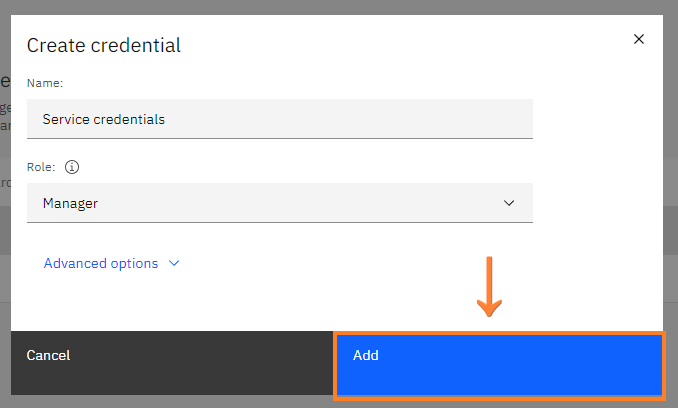
Click (Add):
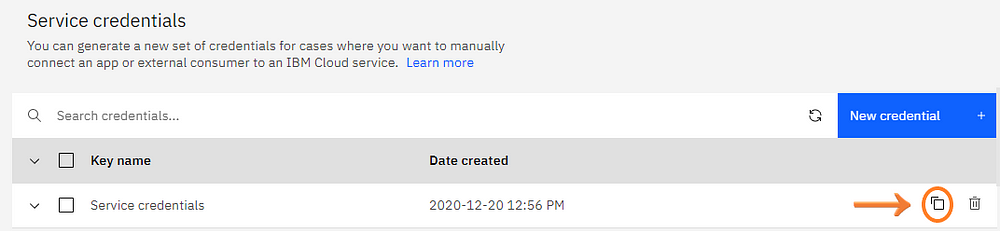
And finally, click (Copy) below to get your credentials that will be used later for the connection between db2 and Watson studio.
Your Db2 instance is now available and ready for use 🤗. We can now load the data into it, let’s move to step 2.
Step 2— Loading Data Into The Db2 Database
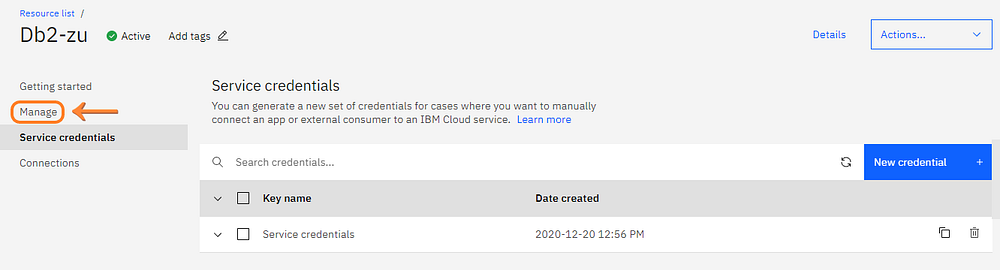
Head to the left panel and click (Manage):
Click (Open Console):

Now we are exploring the newly created Db2, head to the left panel and click (Load) then click the nested (Load Data):

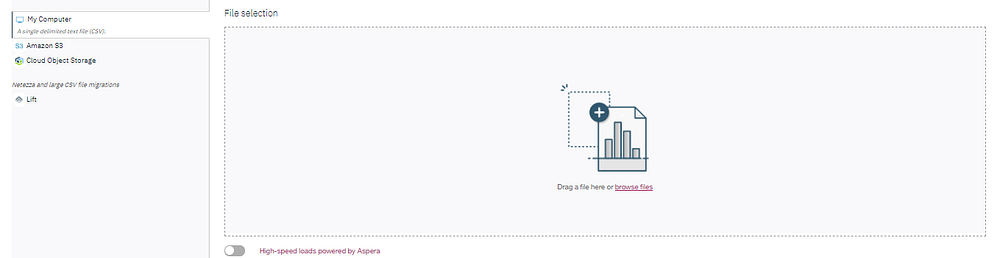
You can load your data from several sources including Amazon S3, also you may want to optimize and accelerate the loading process by activating Aspera high-speed loads, but we will keep it simple for now and import the source file directly from computer, click (browse files) and select your desired one:
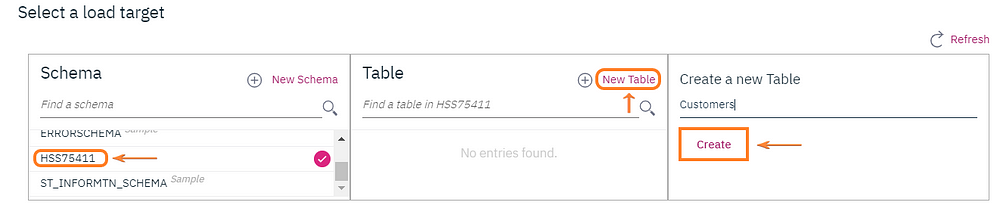
Create your new schema and table as follows, then click (Next):
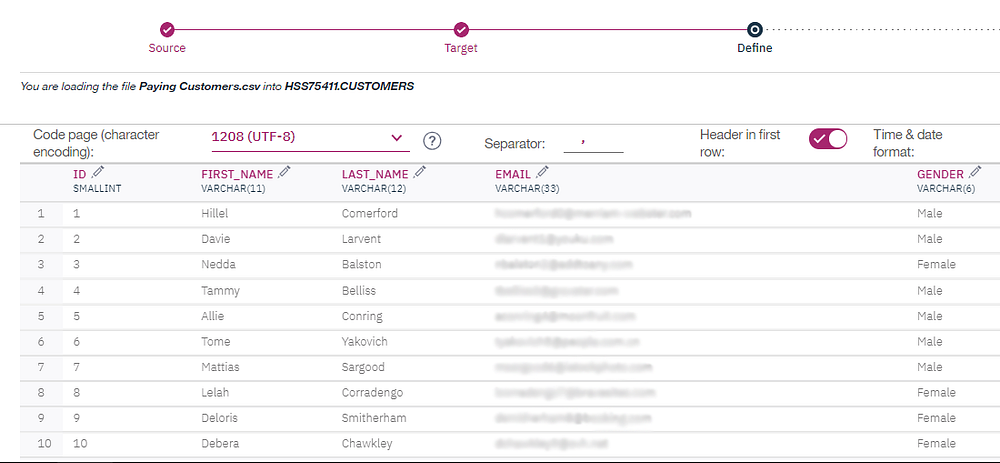
Your newly imported data will look like this, you may want to change the column names, then click (Next) and begin loading:
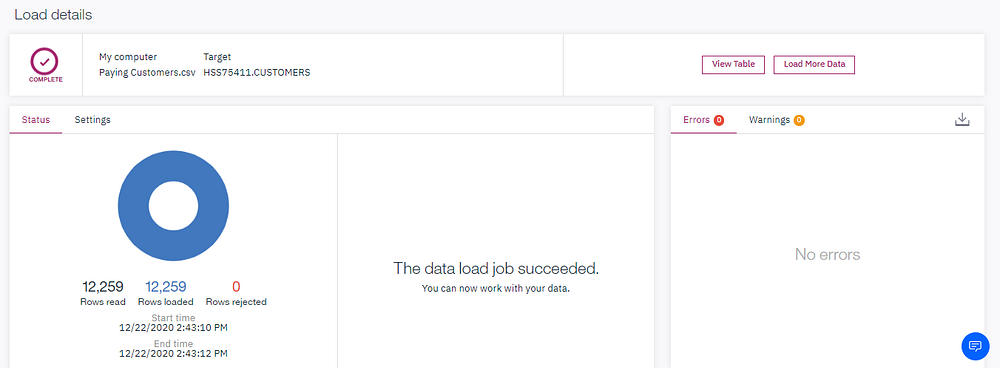
And voila! We made it, the status panel shows you some information about the loading process, 12,259 rows were loaded without errors:
Step 3— Connect Db2 Database To Watson Studio
Just type and select Watson Studio form your IBM Cloud console search bar, it may take up to one minute for the first initialization, click (Create a project):

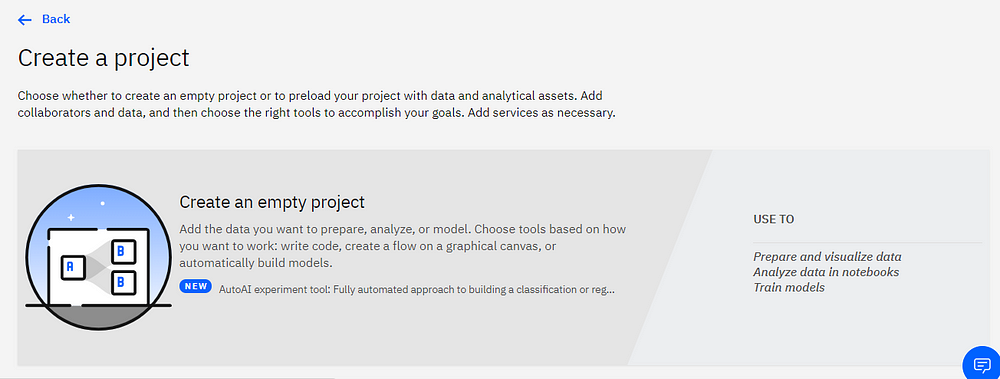
Click (Create an empty project):
We need to define a storage medium for the Watson Studio project, click (Add) and follow the steps below, then click (Refresh):

Select the free lite plan as a start and click (Create):
Now we will connect the Db2 to the project, click (Add to project):

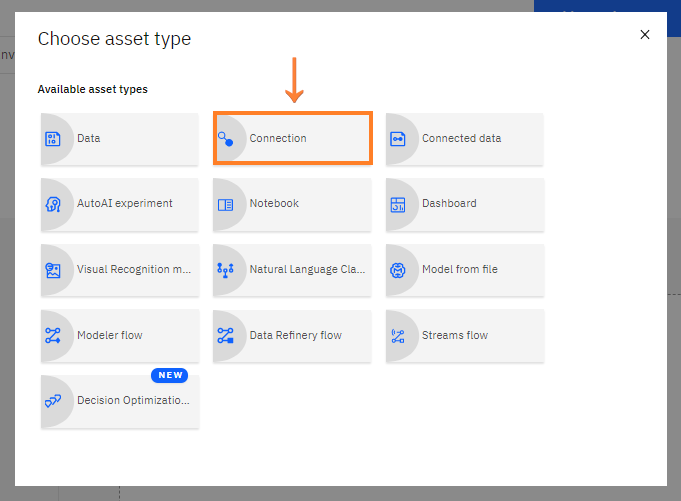
Select (Connection) from the pop-up panel:
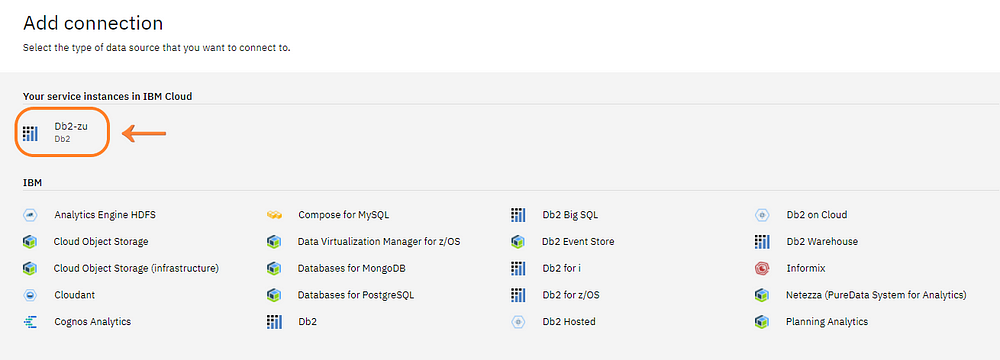
Select the data source type which is Db2 in this case:
Again click (Add to project) and select (Connected data) from the panel:

Select the connection, schema, and tables. Then click (Select):

Step 4 —Associate a Cognos Dashboard Embedded
We need to initialize a Cognos Dashboard Embedded service for data visualization as follows:
Click (Add to project) then select (Dashboard):
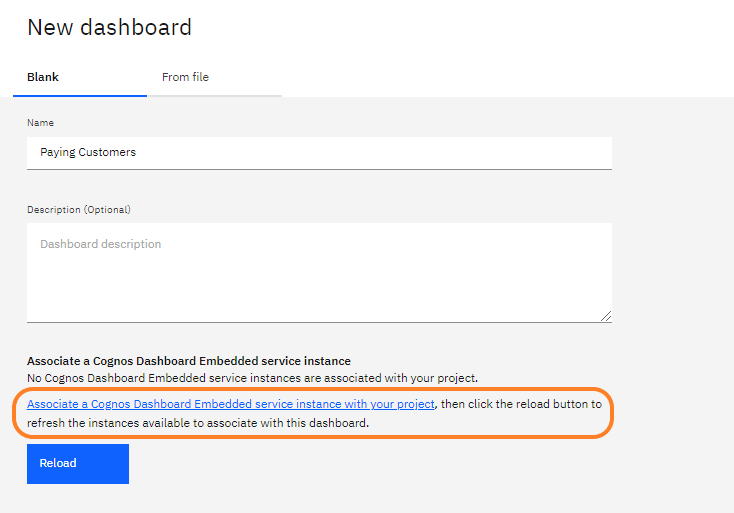
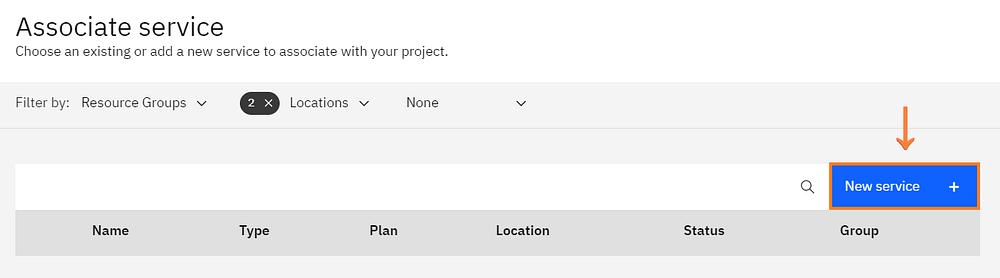
Click (New service):
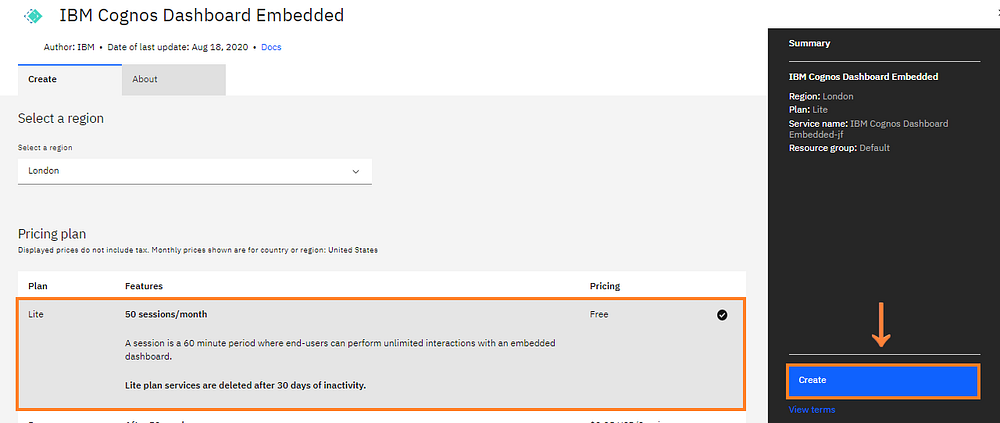
Select (IBM Cognos Dashboard Embedded):

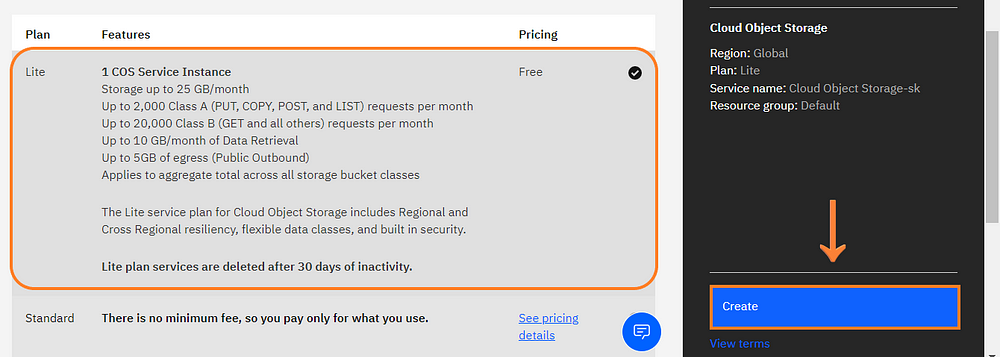
Select the free lite plan and click (Create):
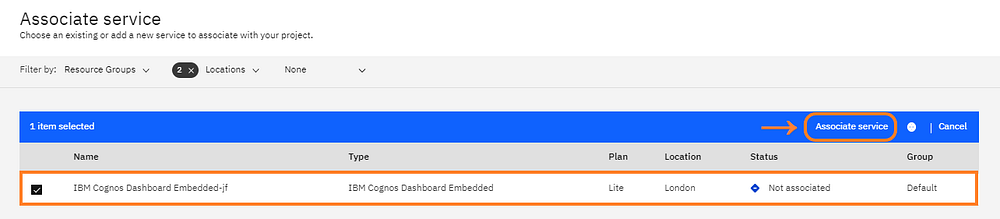
Then Select the created dashboard and click (Associate service):
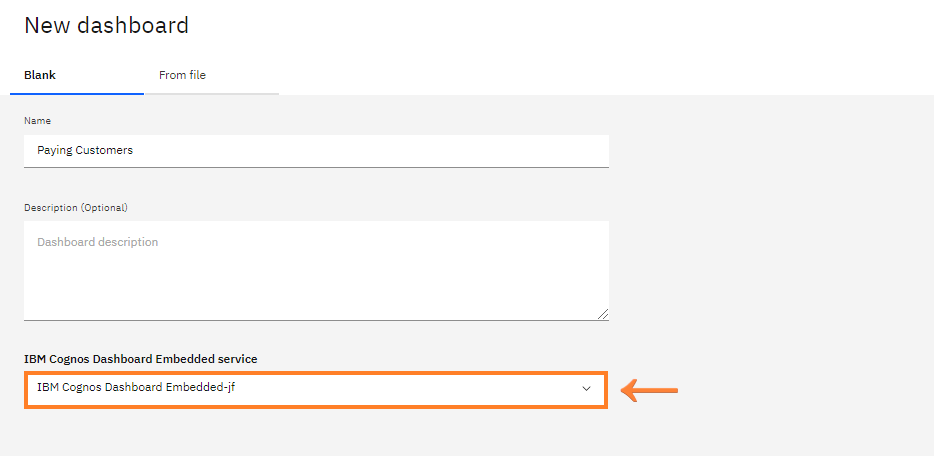
Get back to the initial panel and click (Reload) then select your newly created dashboard:
Step 5 — Visualization With The Cognos Dashboard Embedded
Now we have reached the visualization phase which is the best part of this tutorial.
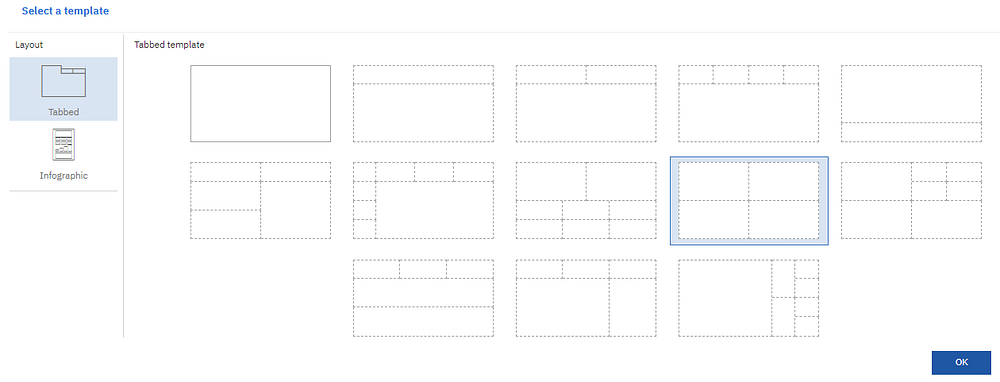
Select your desired template:
Click (Selected sources):

Select your data set to be loaded into the Cognos dashboard:

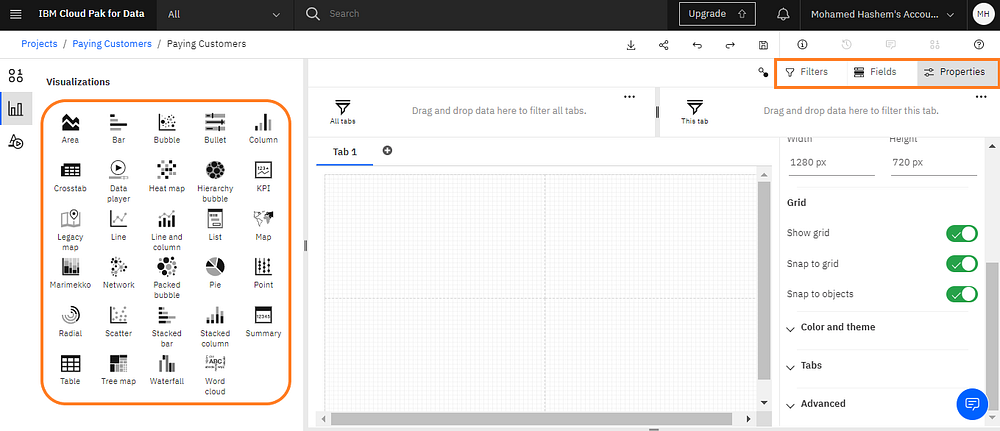
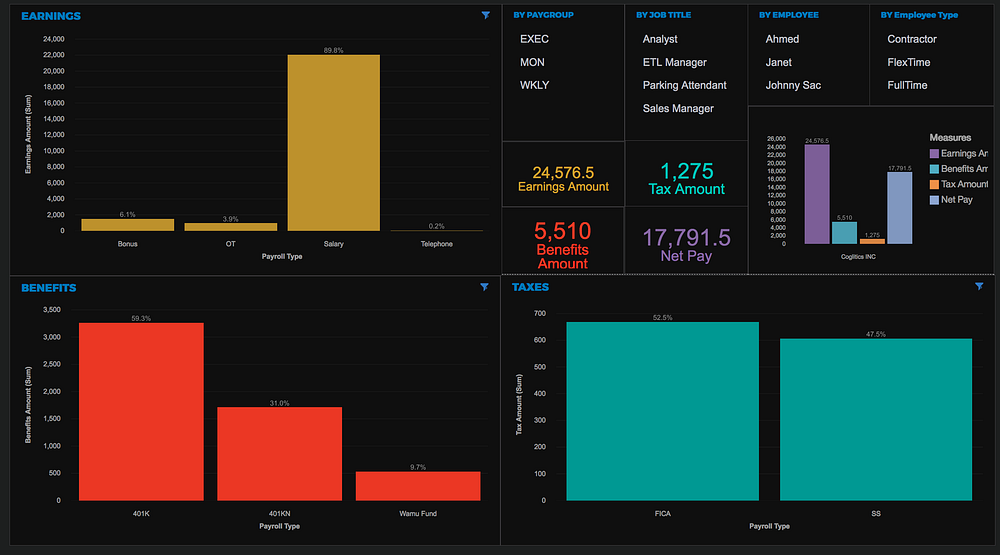
The left panel contains the visualization tools that will enable you to compose robust and elegant dashboards.
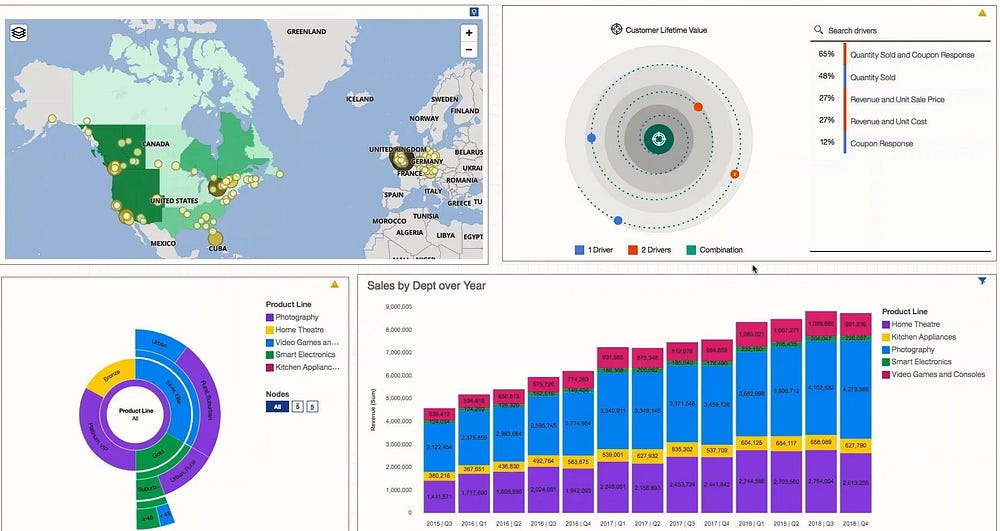
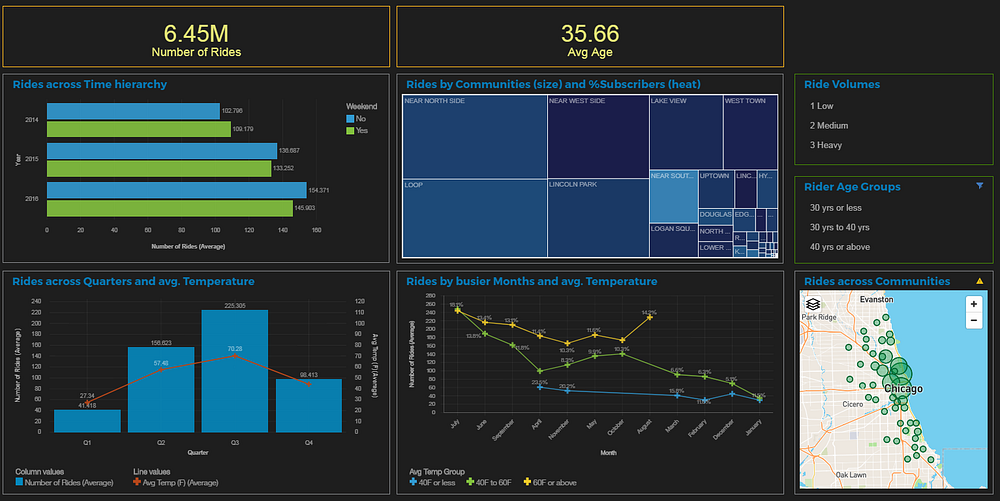
Here are some examples for inspiration:
Conclusion
In this tutorial we’ve developed a solid foundation for migrating the outdated spreadsheets to a more robust solution powered by IBM Cloud, boosting our productivity, and saving our time.
There is no limit to what can be achieved with the Cognos dashboard, as it’s highly flexible, rich, and comprehensive.